這篇是延續"使用AWS lambda和Github來提供中華職棒賽程資料", 之前的做法是用Cloud watch加上lambda來做這件事, 但我跑的東西並不是那麼的頻繁, 在AWS上還是會被收到流量的費用, 因此就打算用更經濟的方式, 利用heroku免費的額度來做這事(真是壞客戶 XD)

目的是定時(比如說每四小時)去爬一些網頁的資訊, 爬這些網頁其實也不需要花太久時間

用Cloud watch + lambda的好處是不用架一台server, 但用Heroku這種PAAS其實也不用太去管server這事

Heroku是可以設定scheduled tasks的, 但額外的work dyno是要另外付費的, 因此, 如果需求不是需要太頻繁, 也不需要執行太久的, 這時候就可以利用ifttt來定時觸發一個url的方式來做

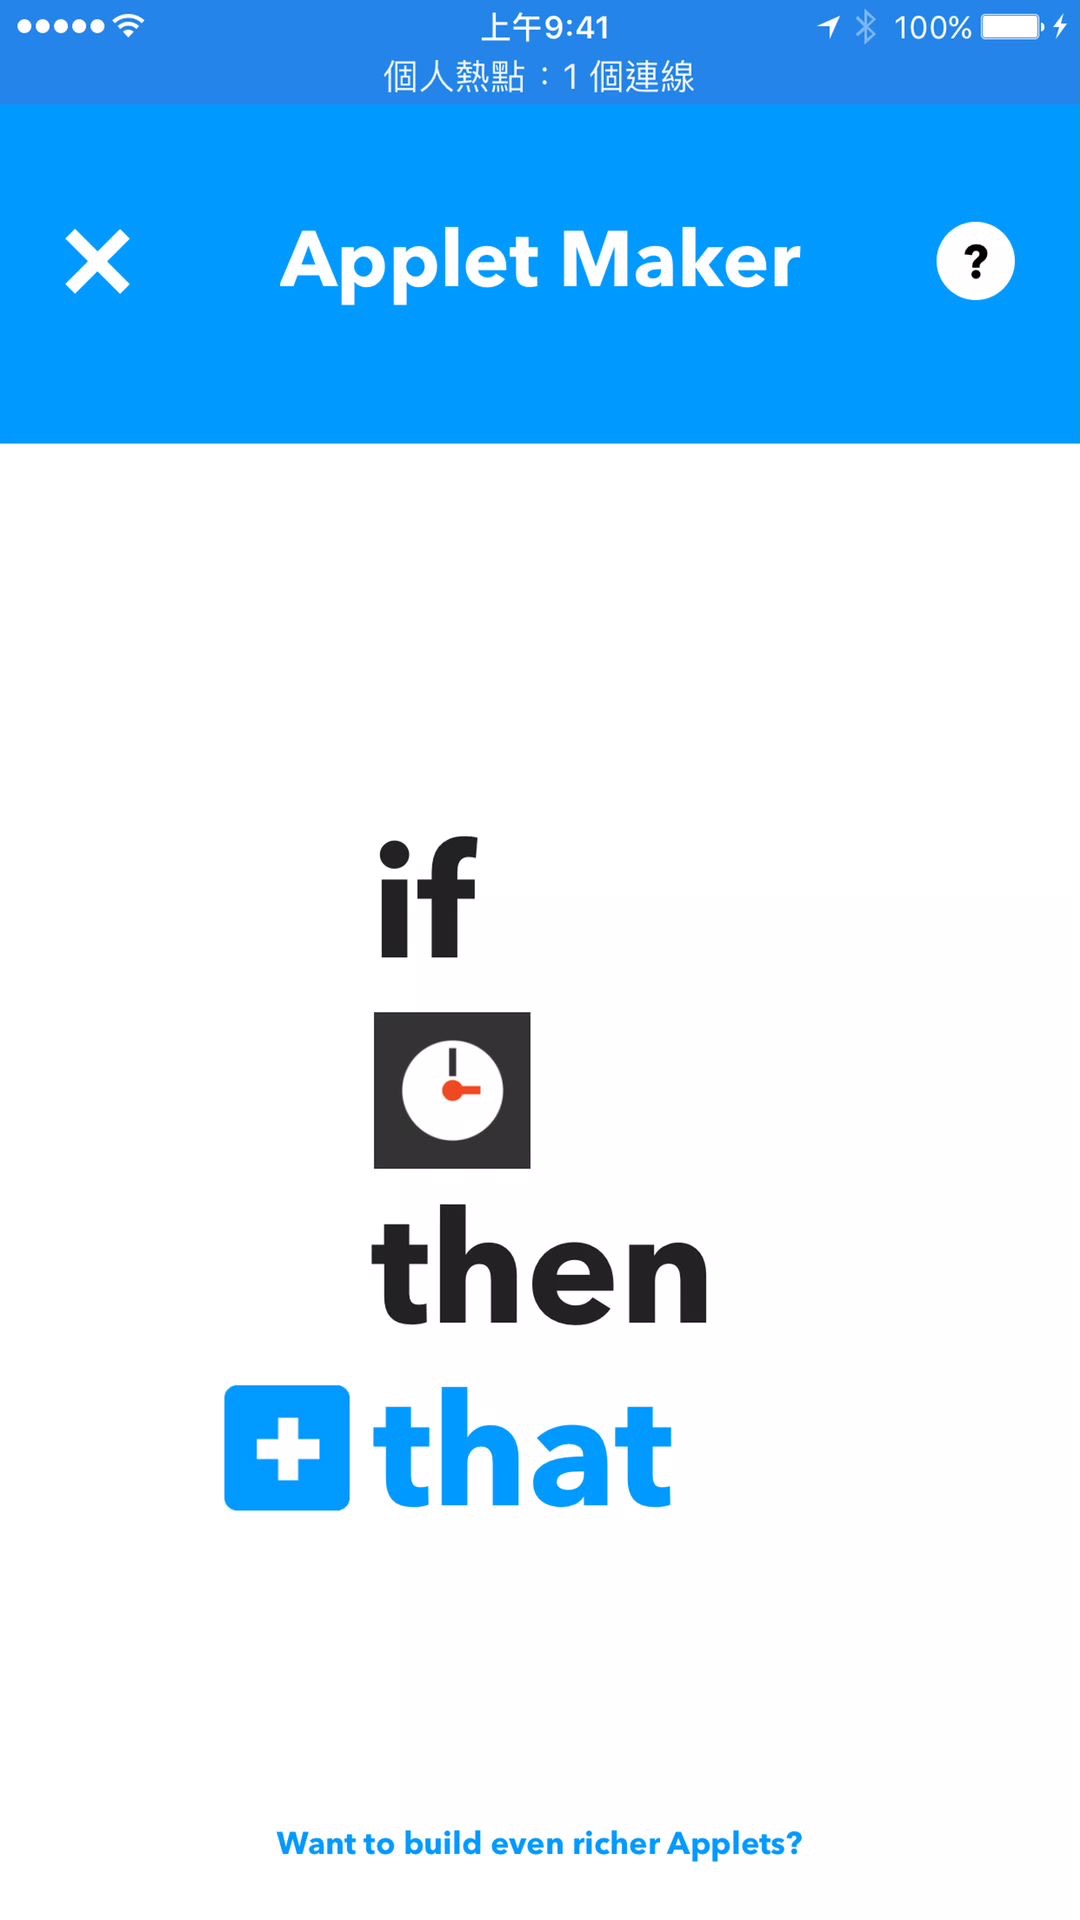
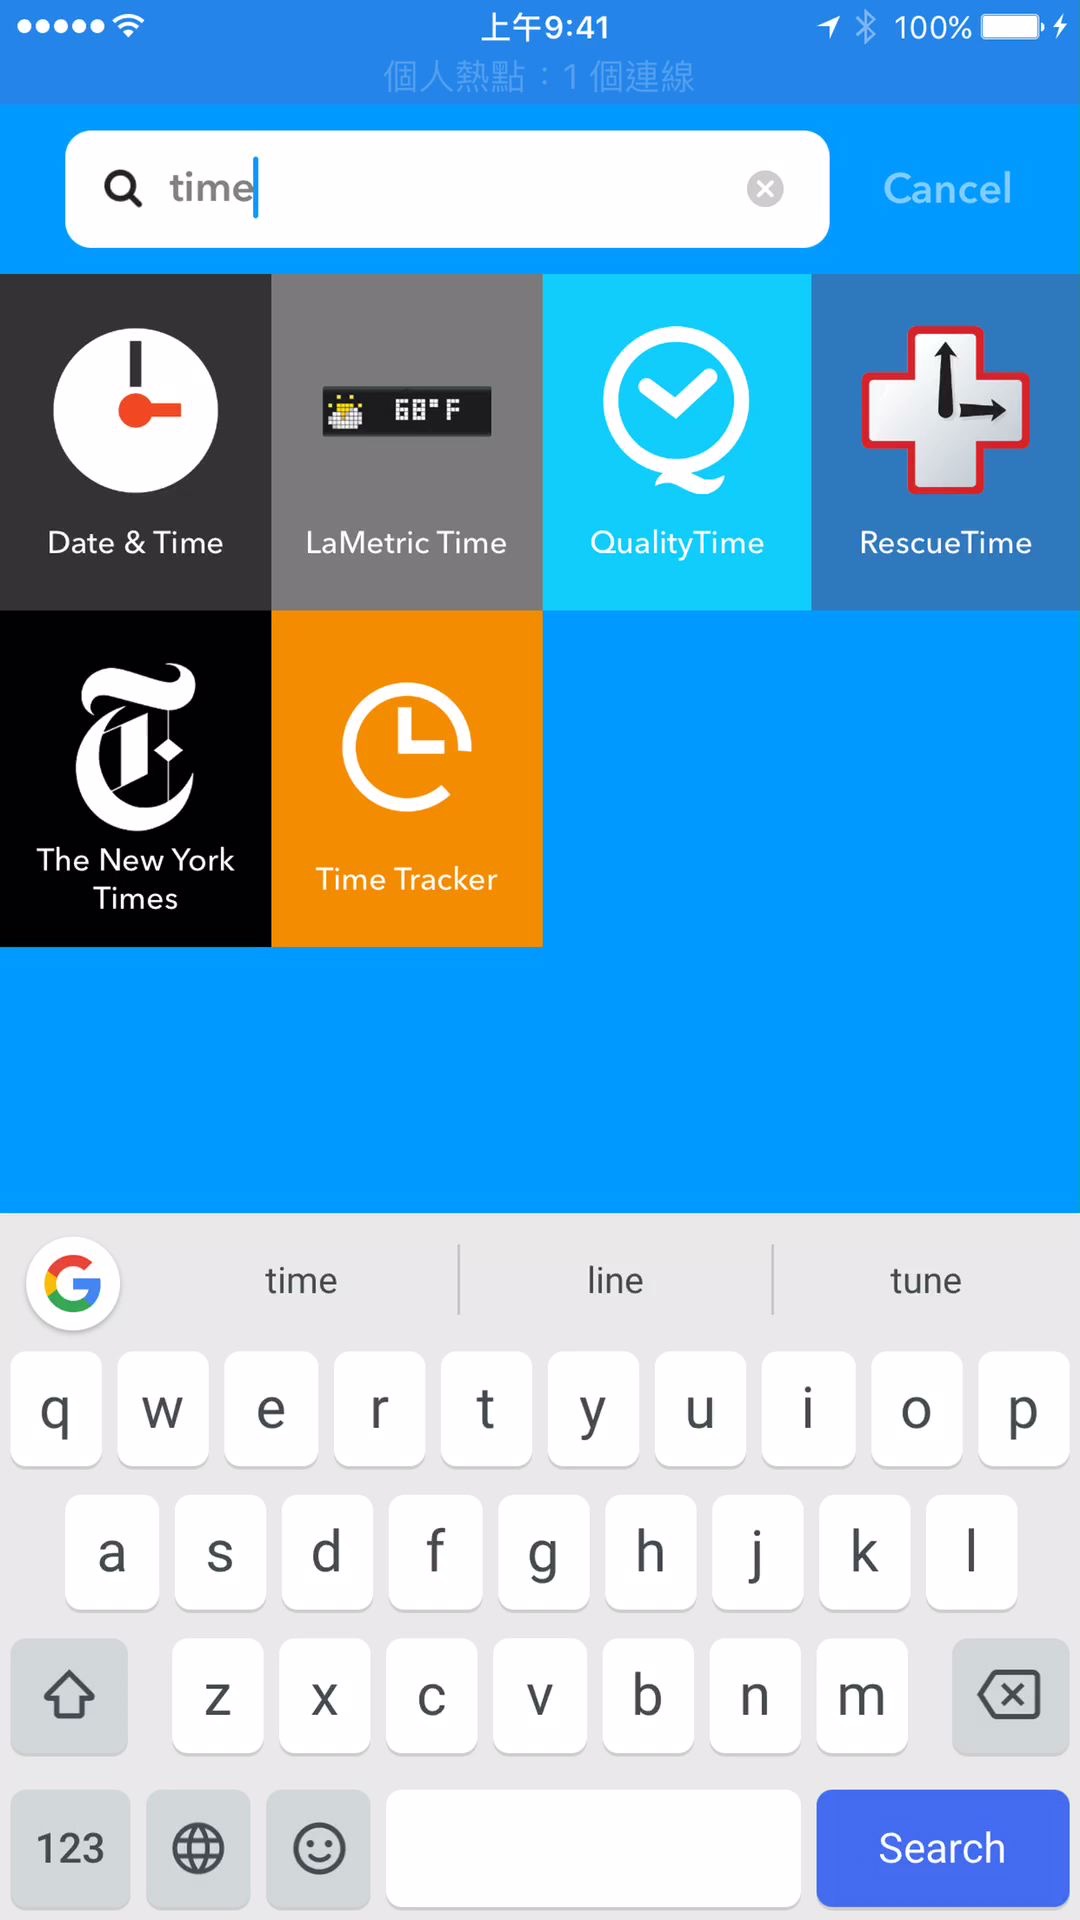
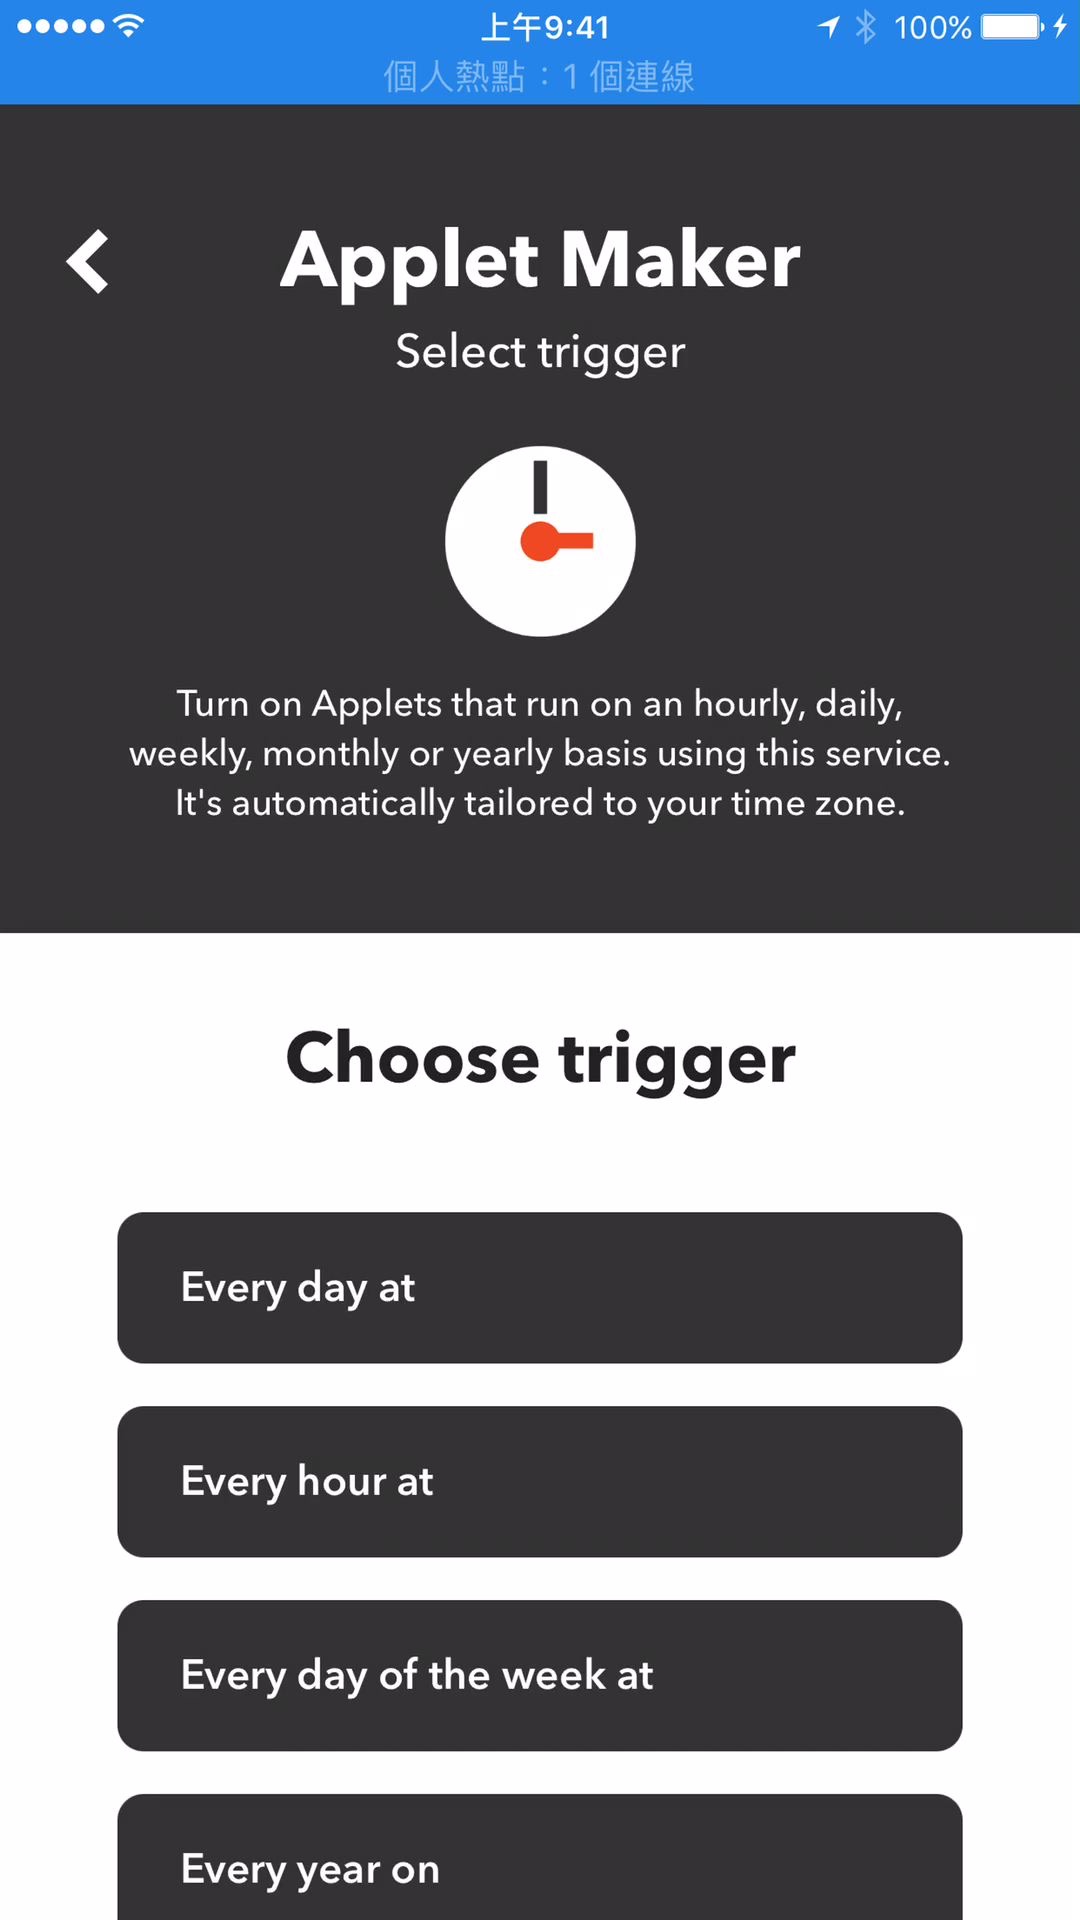
要定時觸發一個URL, ifttt applet該怎麼設定呢? 首先"this"要選用的是Date & Time, 如下:

設定上並沒有很多, 就像是每小時, 每天之類的, 沒辦法訂多個, 如果需要一次多個設定, 那就多新增幾個Applets吧

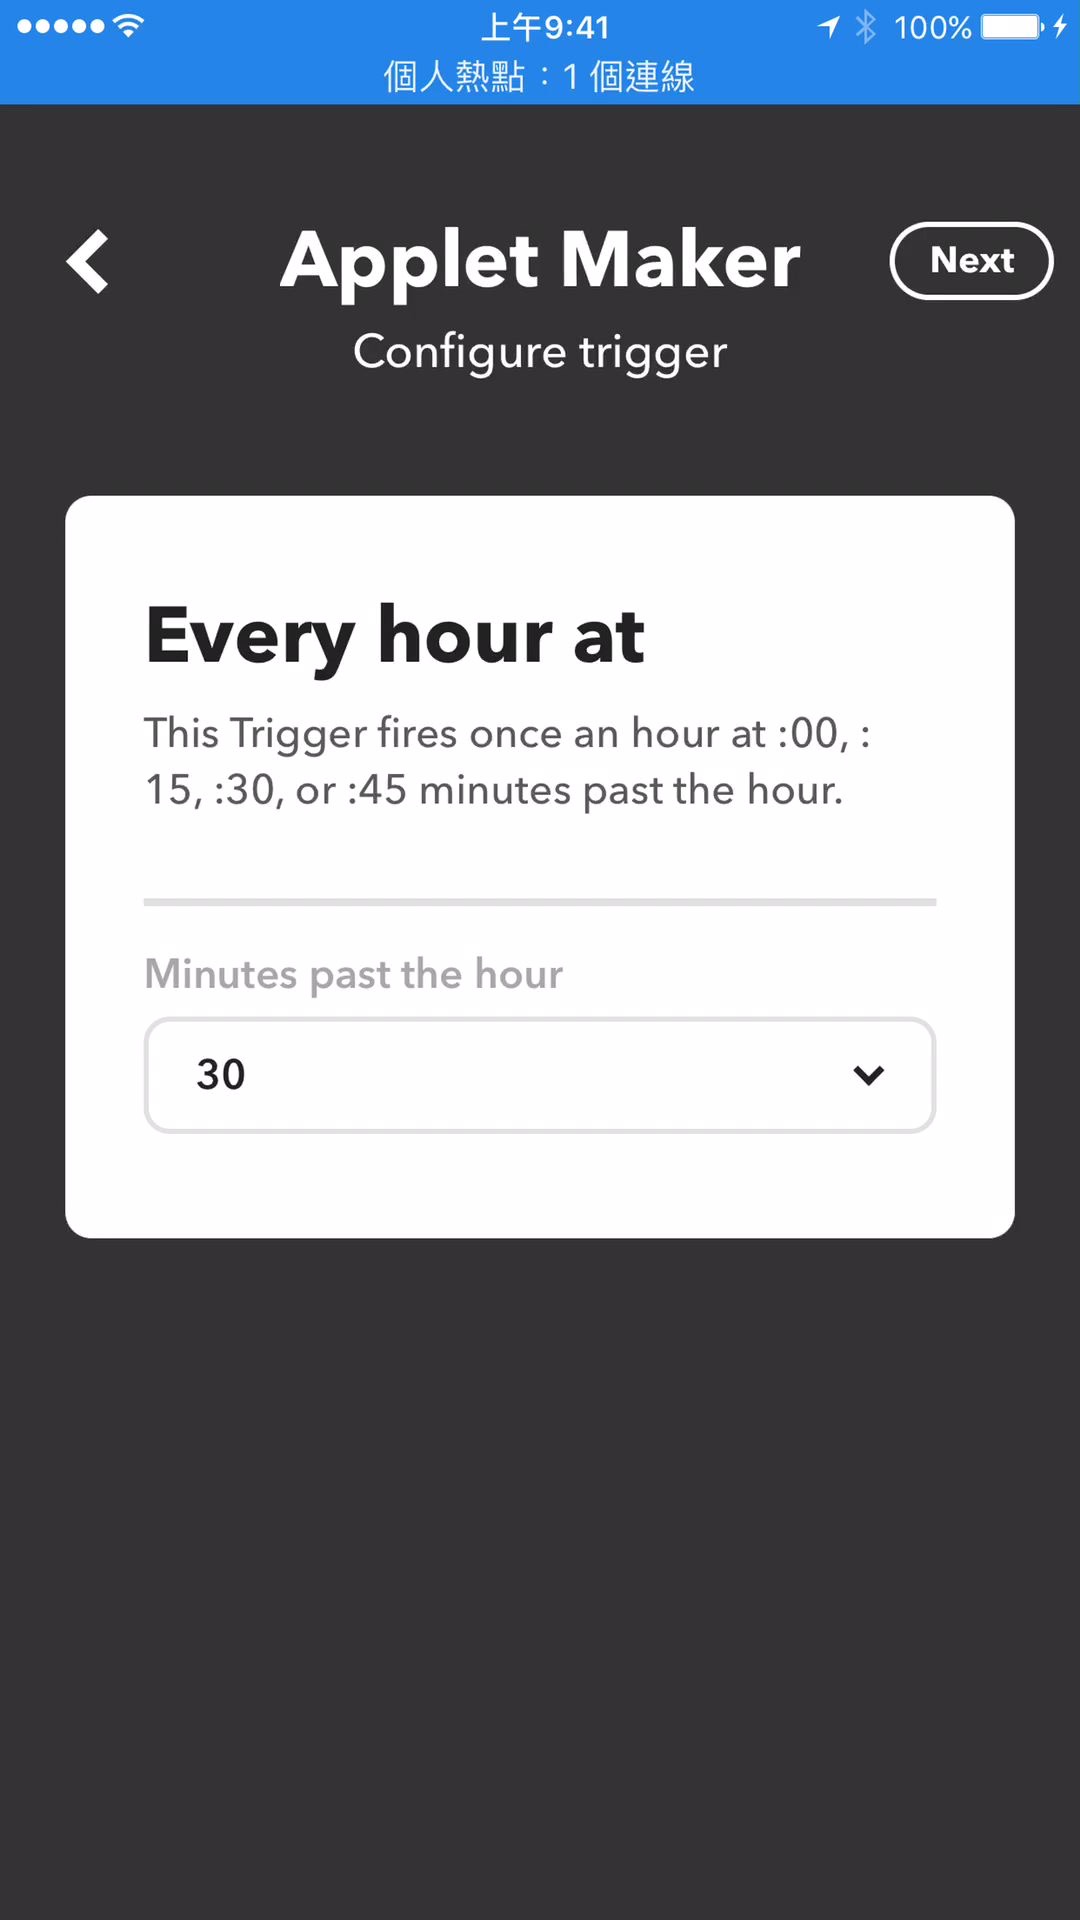
這邊設定每小時, 就設定每小時的15分來觸發吧

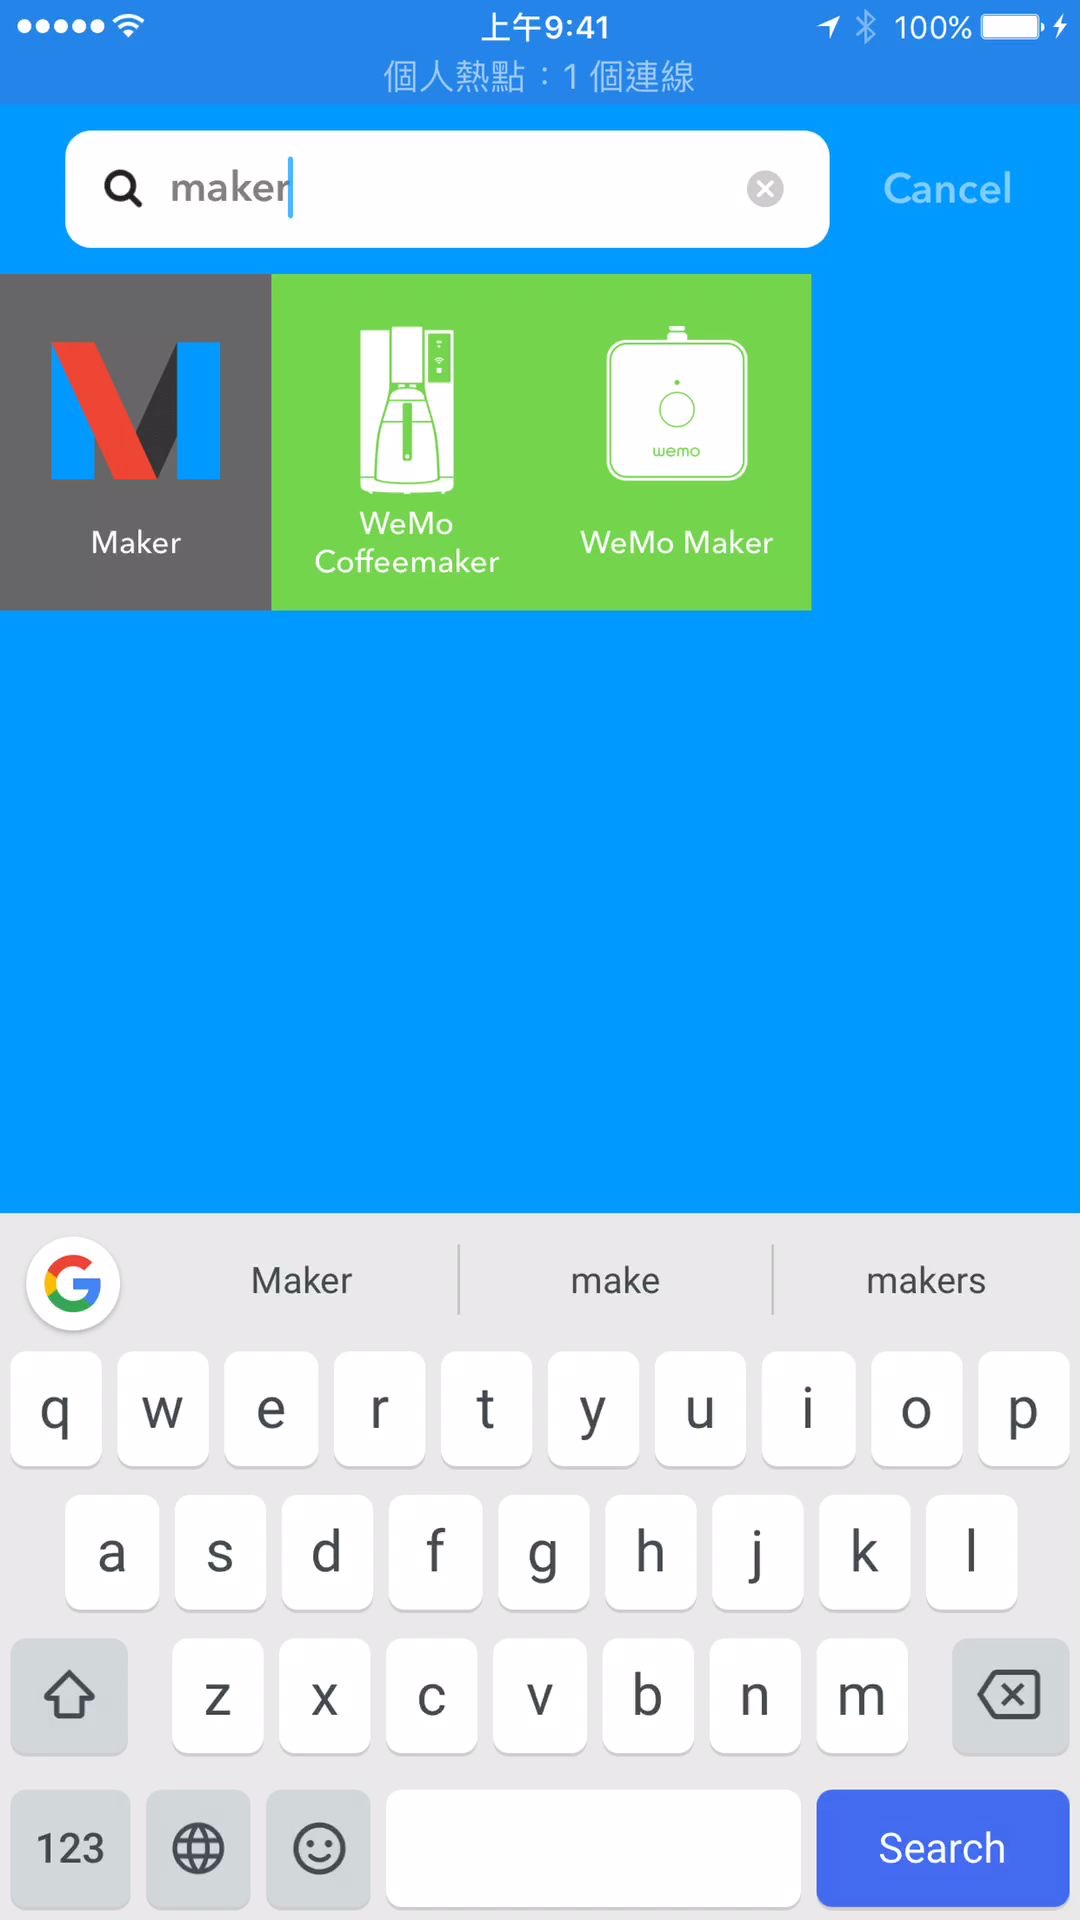
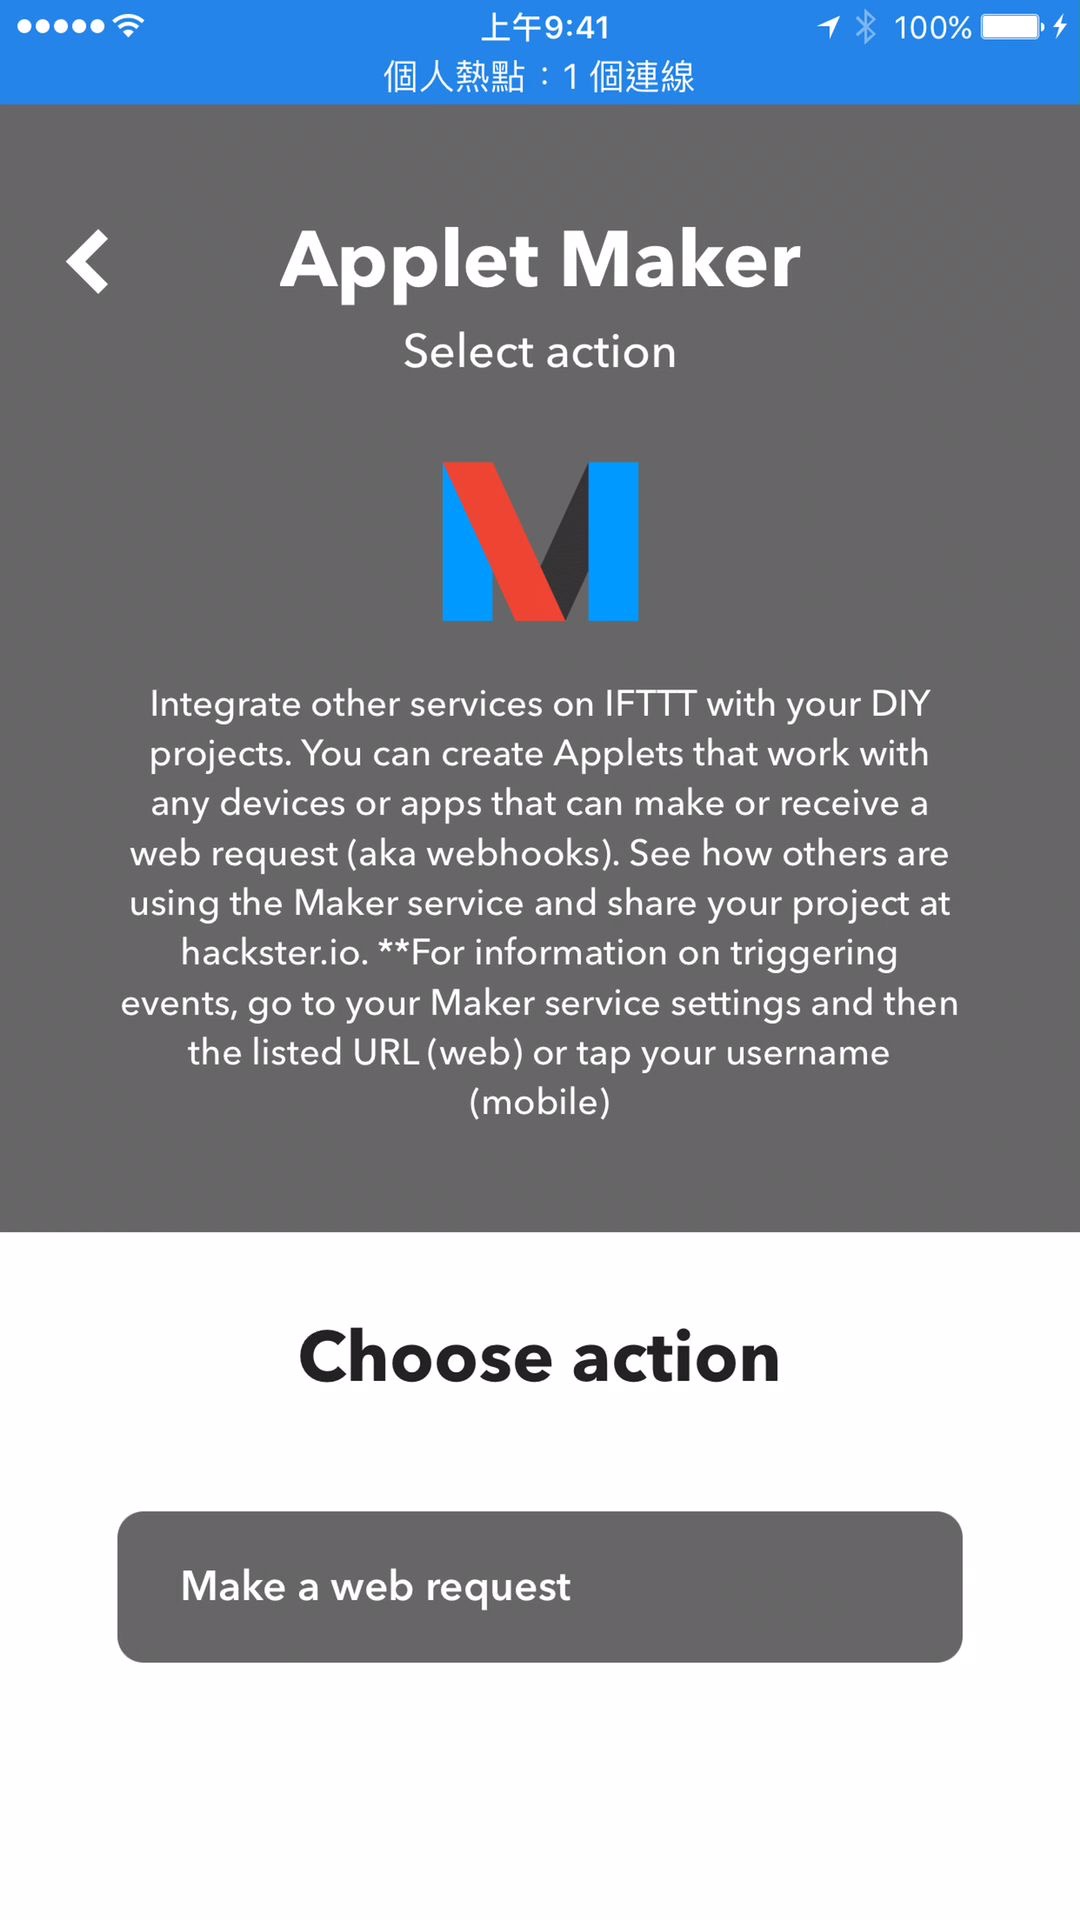
那"that"的動作呢? 觸發URL的動作是利用"Maker", 這是設計給iot用的吧, 不過, 拿來做這用途也是沒問題的:

Maker只有一個選項"Make a web request"

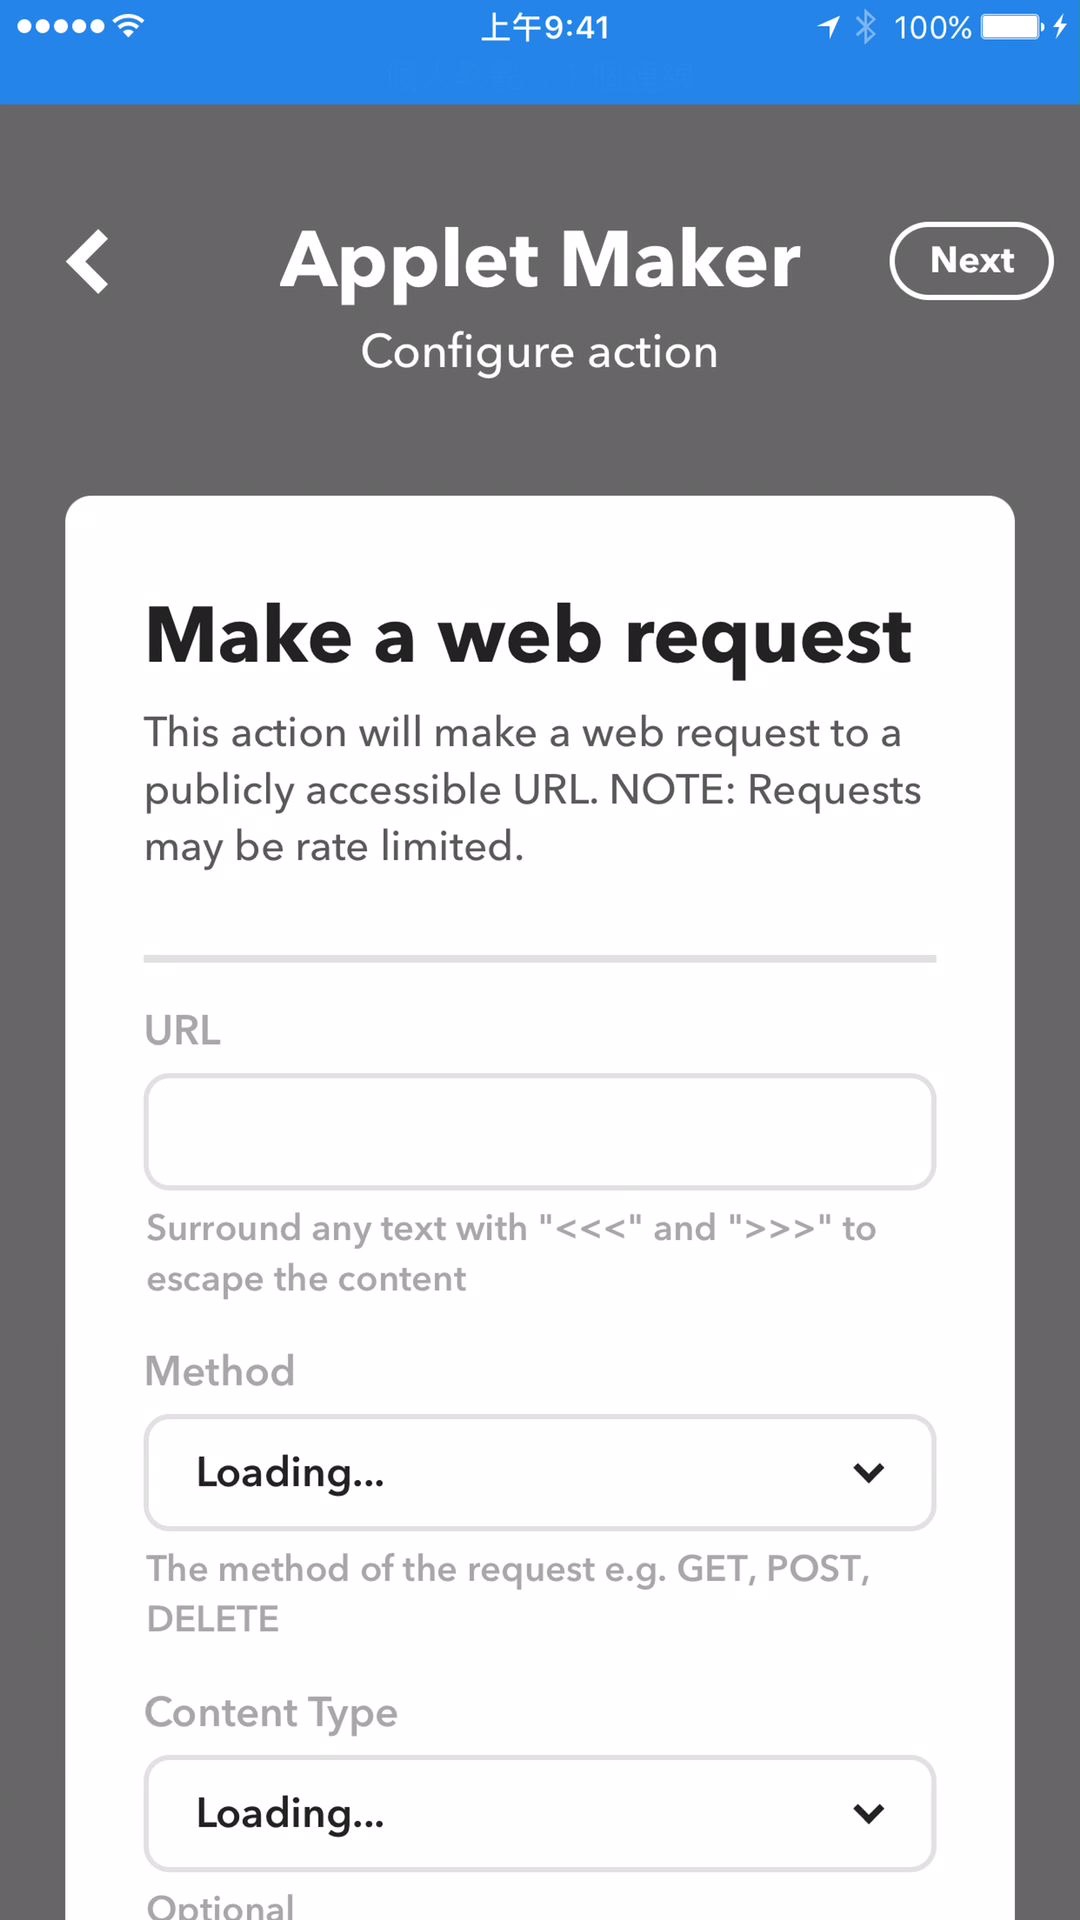
設定很單純, 就給定URL, 使用的HTTP Method(GET, POST, PUT …), Content-type, 跟Body

這邊我用的是POST + Json, Json裡面會帶一個TOKEN來辨識, 以免有心人士利用了這個URL, go的檢查範例如下:

func checkID(body io.Reader) bool {
        data, err := ioutil.ReadAll(body)

        if err != nil {
                return false
        }

        var rbody struct {
                Id string
        }
        err = json.Unmarshal(data, &rbody)

        if err != nil {
                return false
        }

        return rbody.Token == os.Getenv("SEC_TOKEN") && rbody.Token != ""
}

接到request後, 其實是可以把執行的task丟給另一個go routine處理, 原本的就可以回傳給ifttt, 避免執行太久而timeout的問題, 不過對heroku來說, 這還是在同一個web dyno上就是了

Heroku蠻好用的, 也用了好幾年了, 拿來做prototype真是方便, 不過慚愧的是, 我還沒付過錢給他(真惡劣) 最近chatbot玩得比較多, 不想花錢租server, 所以就比較頻繁的用它, 說到這裡, 照例, 先來廣告一下:

新的Line叭寇(Barcode)小幫手 (轉含有條碼的圖片給它, 它會幫你解讀):

好了, 回歸正題, Heroku 雖然是一個Paas的服務, 但它彈性非常大, 透過不同的buildpack也可以支援不同的語言跟框架, 不像Google的GAE, 支援的平台就比較有限

Heroku本身也是跑在Linux上, 因此, 如果你需要額外的套件, 其實也是沒問題的, 舉個例子, 雖然我這個叭寇小幫手是用Go來寫的 但卻會用到ZBar這個讀取條碼的C程式庫, Heroku上當然沒裝, 所以建置Go時, 會因為找不到 程式庫而失敗

在Linux上, 我們可以用apt-get去安裝套件, 以zbar這例子是apt-get install libzbar-dev, 但在Heroku上又該怎麼裝呢?

還是要透過buildpack, 在command line下執行下面指令:

heroku buildpacks:add --index 1 https://github.com/heroku/heroku-buildpack-apt

apt這個build pack是放在官方的Github上, 因為我們希望該需要的, 軟體在一開始就把它準備好了

除了加build pack外, 還是不夠的, 你的套件還是沒被安裝, 因此繼續加一個叫Aptfile的檔案, 內容是你需要安裝的套件

當你push你的程式到heroku上後, 它就會根據Aptfile去安裝相對應的套件了

First, you need to follow this doc (http://developer.yahoo.com/cocktails/mojito/docs/quickstart/) to install Mojito as a global node module. Why install it globally? Because you need the Mojito command line to create your first app.

Create application with command line:

mojito create app mymojito

Change working directory to “mymojito”.

Create a “Procfile” whose content is:

web: mojito start $PORT

Use the following command to create an application on heroku and deploy codes to it.

  • git init
  • git add .
  • git commit -am init
  • heroku create mymojitotest –stack cedar
  • git push heroku master

After successfully commit codes to heroku, you could check running process with “heroku ps”. However, you cannot find any running process. That is because there is one important step missed:

heroku ps:scale web=1

This command adds one dyno for web process. After that, you will find one web process when you check with “heroku ps”. And the server is now started up. You can check your app with browser.

_2011-09-29_12

Looks familiar? It’s not Google+. It’s DIASPORA. An open source project that implements a distributed social networking service. This project was announced on APRIL 24, 2010 (Just right after Facebook f8 2010 that is at APRIL 21). Alpha version was released at NOV 23, 2010 (two days before my birthday :P). 

According to this, Mark Zuckerbug also donated to it just because it’s a cool idea.

It’s built on Ruby on rails. So it might be not so difficult to port it to Heroku platform which is a nice RoR host (althrough it still took me some time). It might be easier than build from scratch on a Linux. 

I’m a newbie to these two (Heroku and DIASPORA). I’m also not familar with RoR. Here records steps I tried. 

create an application on heroku

First, you need to create an application on Heroku. There are several platform stack on Heroku. Cedar stack might be the newest and most powerful one. It supports several languages and frameworks. And It also makes it very easy to deploy RoR applications. 

You need to install heroku CLI before creating an application. And use “heroku login” to login to your heroku account.

Run the following command to create a new cedar application (assume application name is “mysocialy”) –

heroku create –stack cedar mysocialy

After the application created, you’ll have a url “http://mysocialy.herokuapp.com/” for your site. And a git repository: [email protected]:mysocialy.git

import source codes

Get DIASPORA* source codes from git hub:

git clone git://github.com/diaspora/diaspora.git

Get your source codes from Heroku git repository (you’ll get an empty folder):

git clone [email protected]:mysocialy.git

If you have trouble to download from Heroku. Try to use “heroku keys:add” to add your ssh public key and try again.

Copy all files except “.git” folder from “diaspora” to “mysocialy”.

Initial configuration

Make new configuration files from example.

cd config

mv application.yml.example application.yml  

mv database.yml.example database.yml

Edit application.yml. Make “pod_url” to your host. In this case:

pod_url: “http://mysocialy.herokuapp.com/”

Deploy codes

Add and commit files:

git add .

git commit -am ‘initial import’

Push them to Heroku

git push origin master

The coolest thing that Heroku does is that it makes deploy codes so easy. All you need to do is to push your codes to its git repository. And it could also install all related modules for you (that is configured in Gemfile). Super easy.

Ok, I must admit that I lie a little bit. There might be some problems. After I pushes all codes to Heroku, I found there is an error that it couldn’t find 'pg’ (postgresSQL). Looks like it does not install into gem.

I found the answer that it might be problem with gem version. Need to run “bundle install” at local.  This will generate a new Gemfile.lock. Push this new file to Heroku might solve this problem

Ok, that’s all?

Not sure if I missed anything (I might). Anyway, what I did is alive at “http://mysocialy.herokuapp.com/”.