自從離職後, 就沒一個方便的環境可以來做實驗, 家裡的desktop要裝k8s雖然是夠, 但出門的話, 我只有一台六七年的notebook改了SSD裝了Linux, 還是想在這台NB裝K8S拿來玩一些東西
MicroK8s
MicroK8s 算是一個不錯的選擇, 輕量化, 單機可以跑, 重要的是, 可以隨時開關, 對於我這台老電腦來說, 需要的時候再開就好
安裝方式很簡單(Linux下需要先有snap):
sudo snap install microk8s --classic
使用 microk8s status 可以看目前狀態, microk8s start可以開始執行, microk8s stop即可停止
# microk8s status
microk8s is not running, try microk8s start
# microk8s start
[sudo] password for julianshen:
Started.
# microk8s status
microk8s is running
high-availability: no
  datastore master nodes: 127.0.0.1:19001
  datastore standby nodes: none
addons:
  enabled:
    cilium               # SDN, fast with full network policy
    dashboard            # The Kubernetes dashboard
    dns                  # CoreDNS
    ha-cluster           # Configure high availability on the current node
    helm                 # Helm 2 - the package manager for Kubernetes
    helm3                # Helm 3 - Kubernetes package manager
    ingress              # Ingress controller for external access
    metrics-server       # K8s Metrics Server for API access to service metrics
    prometheus           # Prometheus operator for monitoring and logging
    registry             # Private image registry exposed on localhost:32000
    storage              # Storage class; allocates storage from host directory
  disabled:
    ambassador           # Ambassador API Gateway and Ingress
    fluentd              # Elasticsearch-Fluentd-Kibana logging and monitoring
    gpu                  # Automatic enablement of Nvidia CUDA
    host-access          # Allow Pods connecting to Host services smoothly
    istio                # Core Istio service mesh services
    jaeger               # Kubernetes Jaeger operator with its simple config
    keda                 # Kubernetes-based Event Driven Autoscaling
    knative              # The Knative framework on Kubernetes.
    kubeflow             # Kubeflow for easy ML deployments
    linkerd              # Linkerd is a service mesh for Kubernetes and other frameworks
    metallb              # Loadbalancer for your Kubernetes cluster
    multus               # Multus CNI enables attaching multiple network interfaces to pods
    openebs              # OpenEBS is the open-source storage solution for Kubernetes
    openfaas             # openfaas serverless framework
    portainer            # Portainer UI for your Kubernetes cluster
    rbac                 # Role-Based Access Control for authorisation
    traefik              # traefik Ingress controller for external access
如果是正在執行的狀態下, microk8s status 可以看到有哪些可用的addon, 如果要啟動其中一個addon(例如trafik), 也只要執行 microk8s enable traefik, 非常簡單
最基本來說, 你可以使用 microk8s kubectl 來執行相關的 kubectl指令, 如果要方便的GUI界面來管理的話, 也可以透過啟動dashboard:
# microk8s enable dashboard
Enabling Kubernetes Dashboard
Addon metrics-server is already enabled.
Applying manifest
serviceaccount/kubernetes-dashboard created
service/kubernetes-dashboard created
secret/kubernetes-dashboard-certs created
secret/kubernetes-dashboard-csrf created
secret/kubernetes-dashboard-key-holder created
configmap/kubernetes-dashboard-settings created
role.rbac.authorization.k8s.io/kubernetes-dashboard created
clusterrole.rbac.authorization.k8s.io/kubernetes-dashboard created
rolebinding.rbac.authorization.k8s.io/kubernetes-dashboard created
clusterrolebinding.rbac.authorization.k8s.io/kubernetes-dashboard created
deployment.apps/kubernetes-dashboard created
service/dashboard-metrics-scraper created
deployment.apps/dashboard-metrics-scraper created

If RBAC is not enabled access the dashboard using the default token retrieved with:

token=$(microk8s kubectl -n kube-system get secret | grep default-token | cut -d " " -f1)
microk8s kubectl -n kube-system describe secret $token

In an RBAC enabled setup (microk8s enable RBAC) you need to create a user with restricted
permissions as shown in:
https://github.com/kubernetes/dashboard/blob/master/docs/user/access-control/creating-sample-user.md

# microk8s dashboard-proxy
Checking if Dashboard is running.
Dashboard will be available at https://127.0.0.1:10443
Use the following token to login:
[TOKEN]
不過, 我個人是比較偏好用Lens
Lens

Lens的界面蠻簡單直覺的, 功能也蠻強大的, 除了管理你的cluster外, 也可以作到簡單的監控, 同時也可以管理多個cluster, 在啟動Lens後, 到"Clusters Catalog", 會發現沒有任何的一個cluster, 也沒有剛剛啟動的MicroK8S cluster
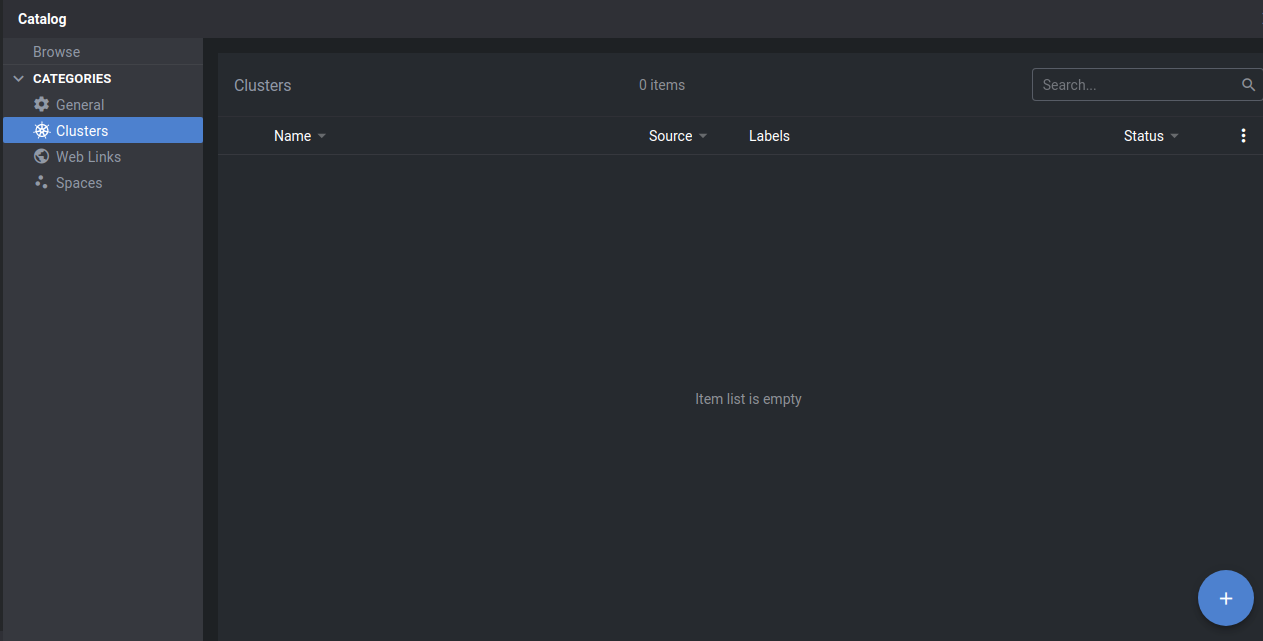
有兩個方法可以加入剛剛創建的MicroK8s cluster, 第一個是按下那個"+“按鈕:
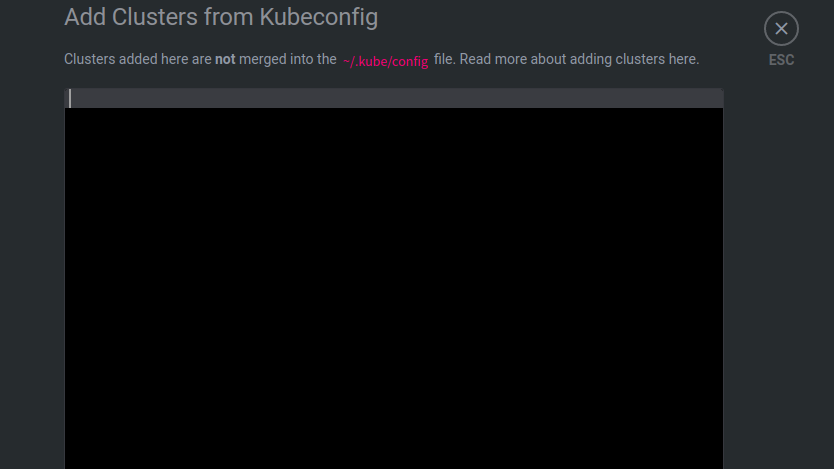
這時候把k8s config貼進去就好, 這邊要注意的一點是, 本來獲取k8s config可以用 kubectl config view , 在MicroK8s下, 如果沒特別設定, 都是用 microk8s kubectl 取代 kubectl, 但這邊, 如果你用 microk8s kubectl config view 去取得k8s config的話, 貼上去, Lens是會連不上你的cluster的
這邊應該用 microk8s config才對, 這個才能讓你的Lens正確連上
另一個方式是執行 microk8s config > ~/.kube/config , 這樣Lens就會自動抓到了, 這兩種的優缺點是, 直接在Lens設定k8s config的話, 管理多個clusters時, 可以不用一直切換context, 如果直接使用 “.kube/config” 的話, 則是, 你也可以直接使用 kubectl來操作你的cluster(就不需要用microk8s kubectl)
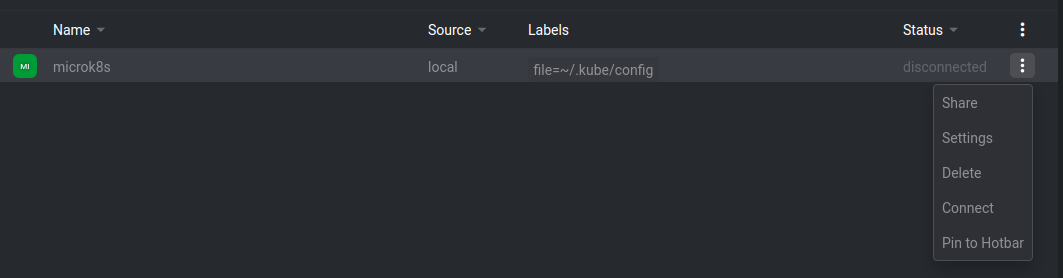
最後要做的步驟就是連接了, 按下"Connect"即可
在MicroK8s這邊, 要記得enable prometheus , Lens會去偵測Prometheus operator並抓取相關的metric資訊顯示在界面上